MIL-PRF-24790A (SH)
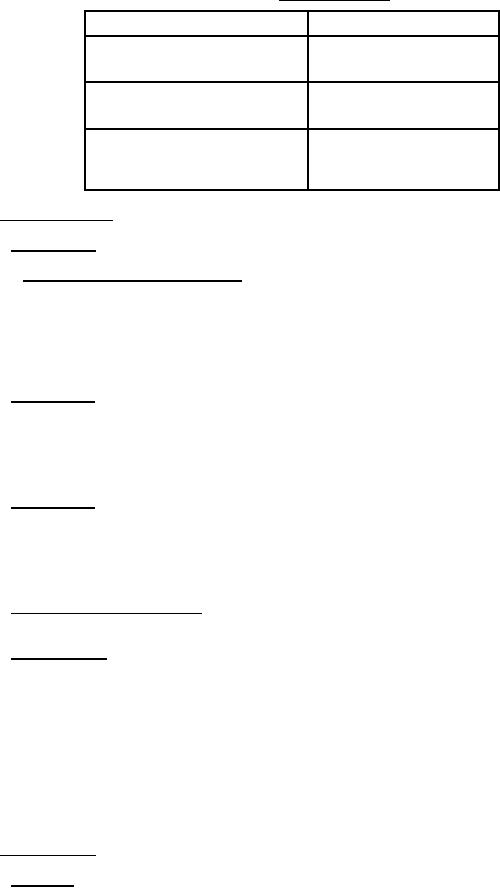
TABLE VIII. Sampling for tests.
Lot size
Sample size
2 to 25
3
26 to 50
5
51 to 90
6
91 to 150
7
151 to 280
10
281 to 500
11
501 to 1,201
15
1,201 to 3,200
18
3,201 to 10,000
22
10,001 to 35,000
29
4.5 Conformance tests.
4.5.1 Group A tests. Group A tests shall be performed for all conformance inspections (see 4.5.1.1).
4.5.1.1 Visual examination and dimensions. Packing material shall be carefully examined by visual
inspection to detect defects in workmanship and dimensions (see 3.8). For each spool or reel of packing material,
major defects such as a rip, tear, hole, void, crease, crimp, gouge, or extraneous particulate matter on the surface,
shall be cause for rejection of that spool or reel. Minor surface defects not affecting the serviceability of the
packing material shall not be cause for rejection. Cross-sectional dimensions shall be measured at no less than
two-foot intervals along the length of two adjacent sides of the spool or reel, using a metal ruler graduated to 1/64-
inch (see 3.6).
4.5.2 Group B tests. Group B tests shall be omitted if both of the following are true:
(a)
Within 2 years preceding the date current lot will be delivered by the contractor, the material has been
tested and found in conformance with the group B requirements of table VI.
(b)
The material offered for delivery is manufactured the same in all respects as the sample submitted that
qualified the material.
4.5.3 Group C tests. Group C tests shall be omitted if both the following are true:
(a)
Within 3 years preceding the date current lot will be delivered by the contractor, the material has been
tested and found in conformance with the group C requirements of table VI.
(b)
The material offered for delivery is manufactured the same in all respects as the sample submitted that
qualified the material.
4.5.4 Composition or process change. Any changes in composition or process shall be promptly reported to
the contracting activity.
4.5.5 Noncompliance. If a sample fails to pass any of the inspections in groups B and C, the contractor shall
notify the contracting activity and the cognizant inspection activity of such failure and take corrective action on the
materials or processes, or both, as warranted, as well as on all units of product which can be corrected and which
are manufactured under essentially the same materials and processes, and which are considered by the qualifying
activity to be subject to the same failure. Acceptance and shipment of the product shall be discontinued until
corrective action, acceptable to the contracting activity, has been taken. After the corrective action has been taken,
all of the inspections in groups B and C shall be repeated on additional sample units (this includes all tests and
examinations, or the test which the original sample failed, at the option of the contracting activity). Group A
inspections may be performed again, but final acceptance and shipment shall be withheld until group B and C
inspections have shown that the corrective action was successful. In the event of failure after reinspection,
information concerning the failure shall be furnished to the cognizant inspection activity and to the contracting
activity.
4.6 Test procedures.
4.6.1 Flexibility. The packing shall be coiled by hand around a rod with a diameter which is equal to or less
than five times the size of the packing. A visual examination shall then be made to determine whether the packing
conforms to the curvature of the rod with no voids or separation between the packing and the rod (see 3.3.1).
8
For Parts Inquires call Parts Hangar, Inc (727) 493-0744
© Copyright 2015 Integrated Publishing, Inc.
A Service Disabled Veteran Owned Small Business